You sign up for AWS → Create an instance → Get the IP address → Configure the subdomain → Run the setup script for N8N → ✅ Done!
Prerequisites
- Gmail account
- A credit/debit card with €1 on account (AWS will return it right away)
- A domain and access to its DNS settings. If you don't have one, continue reading, we've got a solution.
- Google Calendar to set a reminder to cancel the plan in 6 months OR see options below
Choose region (at the top right dropdown menu) = Europe (Stockholm), eu-north-1 - select this exact region not the one where you're located
Choose main menu -> all services -> compute -> EC2 (or search for “EC2” in the top bar)
Click “Launch instance” button
Name = n8n (or your company's name, no spaces, please)
Application and OS Images = Debian (please pay attention, it's easy to miss this one)
Key pair (login) - click “Create new key pair”
Key pair name = n8n (please, use this exact name)
Leave RSA and .pem selected by default
Click “Create key pair” - this will download .pem file to your computer's Downloads folder
Check the box “Allow HTTPS traffic from the internet”
Check the box “Allow HTTP traffic from the internet” (required to get Let's Encrypt SSL certificate)
Configure storage: correct 8 to 30 GiB (this will give you 30 GB space on your hard disk)
Click “Launch instance” and wait a couple of seconds
When it's finished, you'll see the message “Successfully initiated launch of instance (i-absndhfjeu39saiuy)” — click on instance ID in this message
Find section “Public IPv4 address” and copy IP address (it looks like 92.80.123.115)
3. Open your domain registrar website (like, godaddy.com or namecheap.com)
If you don't have a domain and don't want to bother, please, contact Andrew and send him "Public IPv4 address", you've just copied. He'll create a random subdomain (smth like xyz.empathic.solutions) and will send it to you. Then just skip this step.
Open your domain DNS settings.
Create A record for your domain with name = n8n and value = [IP address] you’ve just copied
Wait 5 minutes
4. Put your N8N subdomain here to update the followings steps
Before continuing, please enter N8N subdomain you're planning to use (no www, no https), something like "n8n.mycompany.com" — this affects the scripts below:
5. Open command line tool on you computer
On Mac: open Spotlight (Cmd+Space) and type "terminal". On Windows: hit Ctrl+R and type "cmd", then hit Enter.
ONLY ON WINDOWS: Check that SSH is installed, copy and paste this line and press enter: ssh -V
If you see “command not found” message, please install SSH client first: install SSH for windows.
ONLY ON MAC: Copy/paste this and press enter: chmod 600 Downloads/n8n.pem
Copy/paste this and press enter to log in to your instance: ssh -i Downloads/n8n.pem admin@n8n.mycompany.com
Type “yes” and press enter. You’re now logged in to your instance now.
6. Set up instance & install N8N
Now you will have to run some command line scripts to setup instance, obtain an SSL certificate and run N8N.
Buy me a coffee for €5 to get:
- fast one-line installer that will do all the dirty work for you in 3 minutes (see demo video on youtube) curl -sSL "https://andy.isd-group.com/n8n-free/?domain=n8n.mycompany.com&install=*CODE*" | bash
- my consultation in Signal, by e-mail or in Threads on any question regarding N8N installing
When you're done, hit Cmd+D or Ctrl+D to log out of the instance and close terminal.
Set up owner account and answer some marketing questions.
Skip sending free license key, you don't need it.
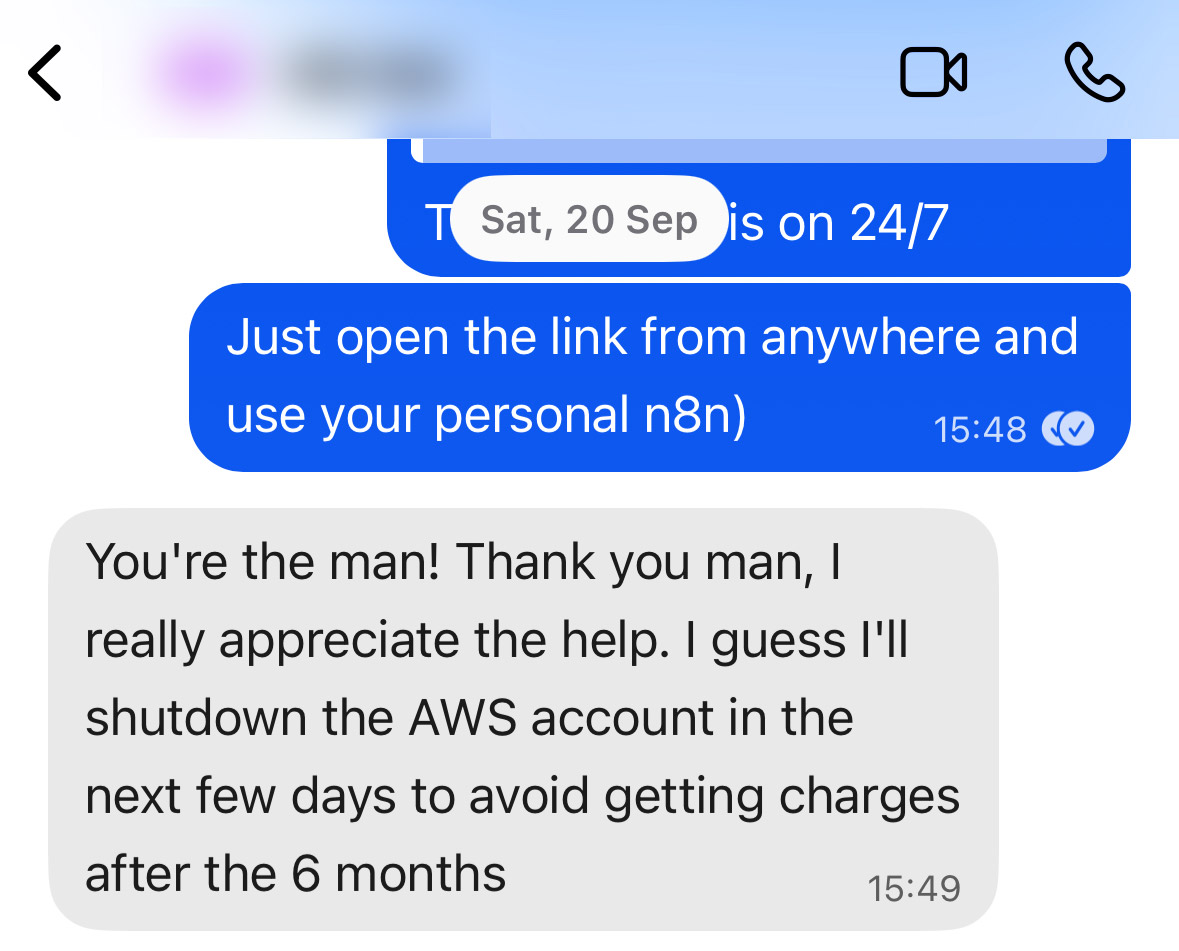
You're done, enjoy! It's up and running 24/7. You can invite your co-workers. For more see "Protection, ..." section.
8. Set a reminder in Google Calendar: one week before the 6 months mark — Jan 10, 2027
Here are your options in 6 months:
Delete your EC2 instance and 30 GB volume. Close your AWS account. You're not paying anything.
Start paying AWS: it's approx. $13 / month for this setup (t3.micro instance, 30Gb storage, public IP).
Backup your data and migrate to another hosting. See below how.
Don't know which hosting to choose? Contact Andrew, he'll propose you some options.
Congrats, that's it! 🎉 🎉 🎉
Dec 2025 update:
If you're looking for useful automation, please, check my next guide on how to connect Gmail to N8N (this guide is a prerequisite for it).
Troubleshooting
Could not resolve hostname error — wait 5 minutes after you created the A record. Check IP address, wait and try again.
Can't log in to instance (Identity file Downloads/n8n.pem not accessible: No such file or directory): check than you have n8n.pem file in your Downloads folder, that you've downloaded from AWS.
Some thing went wrong and you want to start over? Terminate instance. Get back to point 2.
Any other issues? Contact Andrew (scroll down to the bottom of the page).
Protect your instance. When you're done with setup and users invitations, open AWS EC2, select Security Groups -> enter "launch-wizard-1" group -> Edit inbound rules -> Remove rule with Type = SSH. This will disable SSH access to your instance. When you need it later, just add it again.
Update N8N version periodically, if you need access to the new features. Please, remember to backup first. Here's the line to update:
ssh -i Downloads/n8n.pem admin@n8n.mycompany.com "cd /var/www/default && sudo docker compose stop && sudo docker pull docker.n8n.io/n8nio/n8n:latest && sudo docker compose up -d"
Backup "the easy way": open your workflow, click on "...", select "Download". This will download your workflow as a .json file. You can upload it back to any other N8N later. Note: this won't backup your credentials, you need to backup them separately.
TIP: In order to quickly restore credentials, just create the credential again and click on each node in the workflow that uses it. Then just click "Back". Repeat for each workflow, each node.
Backup "the pro way": this will create n8n_data_backup.tar.gz file with all your N8N data (including SQLite database):
ssh -i Downloads/n8n.pem admin@n8n.mycompany.com "sudo tar -czf - -C /var/lib/docker/volumes/n8n_data/_data ." > Downloads/n8n_data_backup.tar.gz
For multi-user access, invite users to your n8n. You can do it in "Settings" -> "Users" -> "Invite user". Wait till they accept the invitations. Then run this command from your terminal:
ssh -i Downloads/n8n.pem admin@n8n.mycompany.com "cd /var/www/default && sudo docker compose stop && sudo sqlite3 /var/lib/docker/volumes/n8n_data/_data/database.sqlite \"UPDATE user SET role = 'global:owner';\" && sudo docker compose up -d"
[optional] Transferring your data to the new instance
If you have "the pro way" backup file in your Downloads folder, just execute this to restore all your data (WARNING: this will erase all the existing data in the new instance):
cat Downloads/n8n_data_backup.tar.gz | ssh -i Downloads/n8n.pem admin@n8n.mycompany.com 'cd /var/www/default && docker compose stop && sudo tar -xzvf - -C /var/lib/docker/volumes/n8n_data/_data && docker compose up -d'
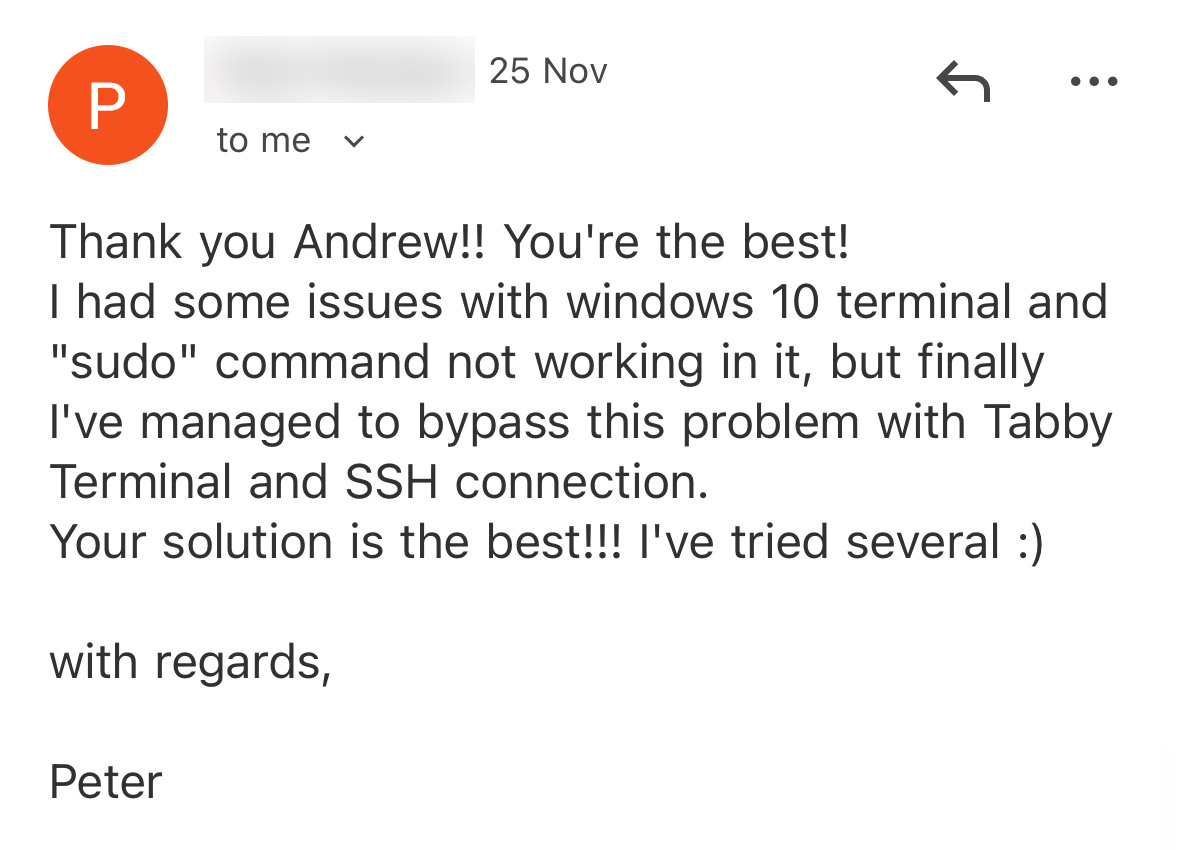
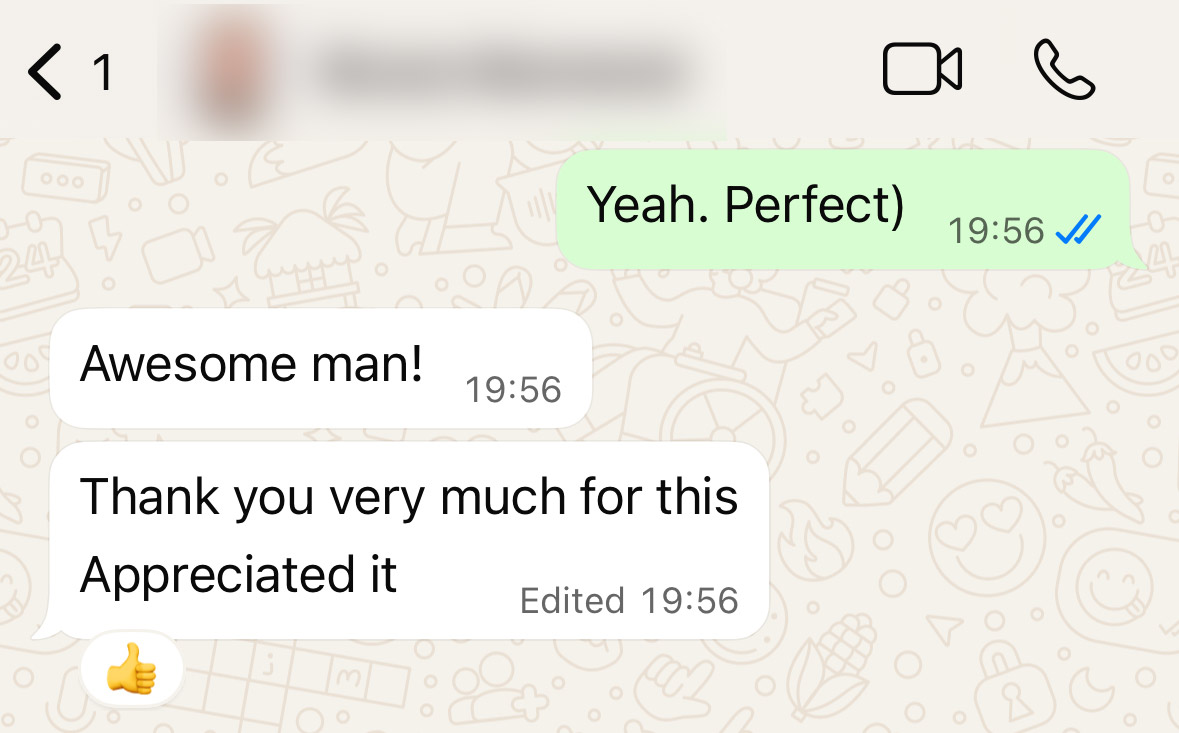
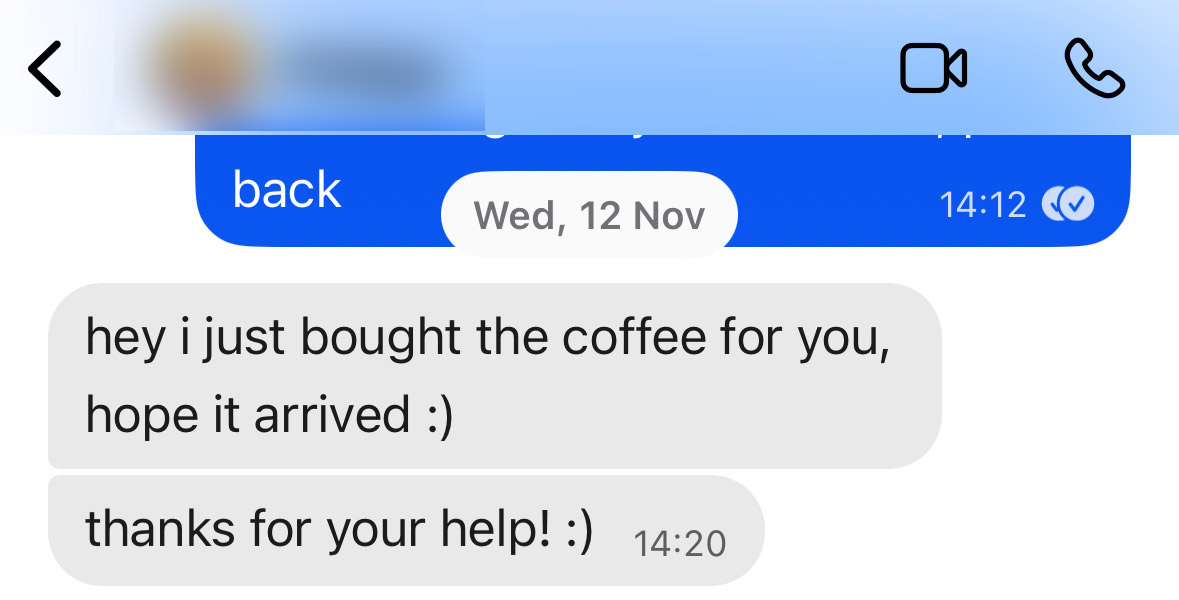
User Reviews
Unlock code
You will receive unlock code to your email (please, check the Spam folder).
×
Contact
For questions or consultations, don't hesitate to contact me. I can set up a domain for you (please send me Public IP address) or give you consultation.